
Our Forest River Rockwood Roo 23B\
This part of our web site is about the modifications and repairs we have had to make or chosen to make to our Roo 23B camping trailer. To be absolutely honest, I have a love/hate relationship with our Roo! Many of the repairs have been necessitated by poor or cheap construction techniques, short cuts, etc that Forest River has taken with their product. However, some of the modifications we have made are out of necessity in order to make life a little easier when camping and actually have nothing to do with Forest River's product. In Forest River's defense (trying to be fair), many of the short cuts and cheap construction techniques are the same as used across the industry in an effort to minimize costs and maximize profits. Whatever you think of Forest River, whether from personal experience or just hear say, please keep in mind my wife and I CHOSE this trailer because of certain unique qualities in the design. When contacted by email, Forest River has been very responsive and I do recommend their trailers, especially if you love hybrids. It is the best of both worlds for many of us who can't seem to let go of the desire to have canvas overhead at night instead of a hard top. There is also a lot more useable space in a hybrid for the length and weight of the trailer. I pull my Roo with a 2005 Nissan Titan. They are a very good match as the Roo has a weight of about 4500 pounds and the Titan can haul around 9400 pounds!
Mods and add-ons to the electronics that came preinstalled in the trailer:
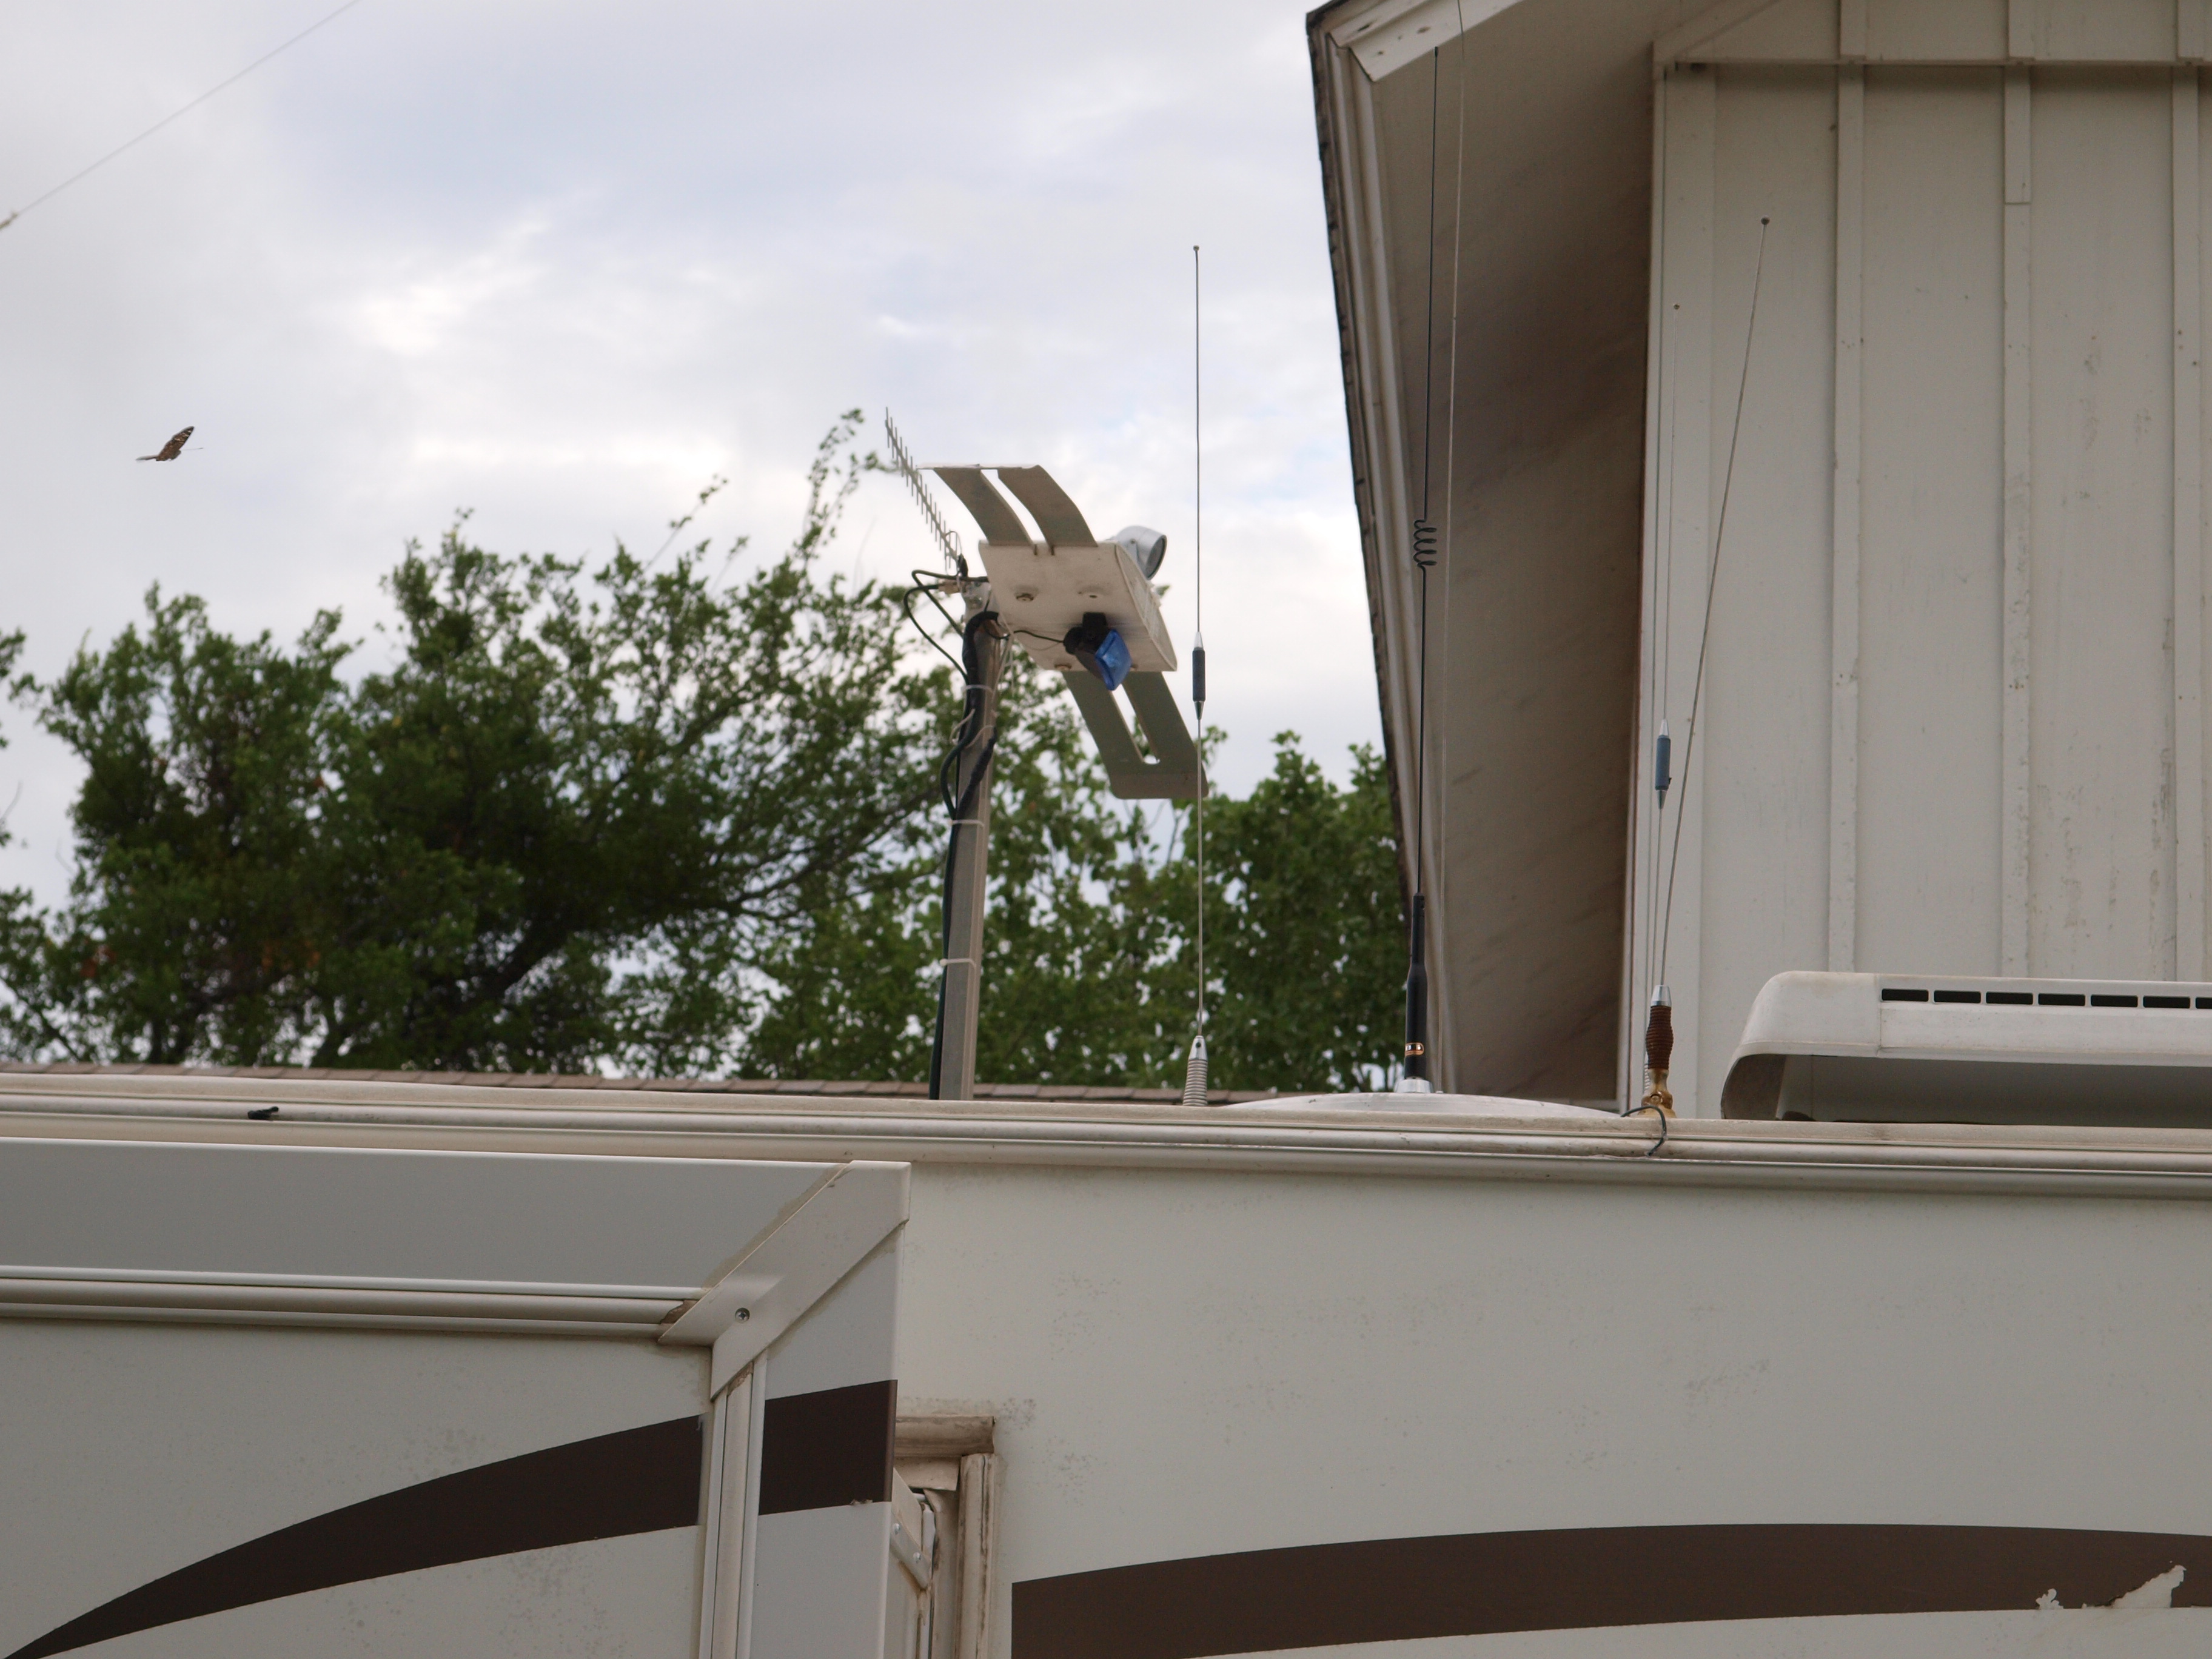
I added a security cctv video with both IR and halogen lighting that can be rotated to be able to see around the camper. I used an $20 weather proof security camera with installed IR lighting and fed the video to my built in monitor in the camper using the extra video input. I ran an outdoor extension cord out through the hole in the roof that is used for the satellite radio antenna. This hole was under a piece of sheet metal screwed down to the roof. The camera and a cheap fog light from WalMart were mounted to the center of the wing style TV antenna. This allows the camera and the light to be rotated around when in the raised position. The camera UV lighting proved to be the most effect lighting for the camera. The flood also works well but I will use it mainly for lighting the areas around my camper. The the following photos.
I used a combination of 3M outdoor rubber mounting tape that has a holding power of about 5lbs compared to most foam tapes with a holding power of 1 pound. I also used cable ties to act as a secondary securing method. No holes were drilled in the housing.
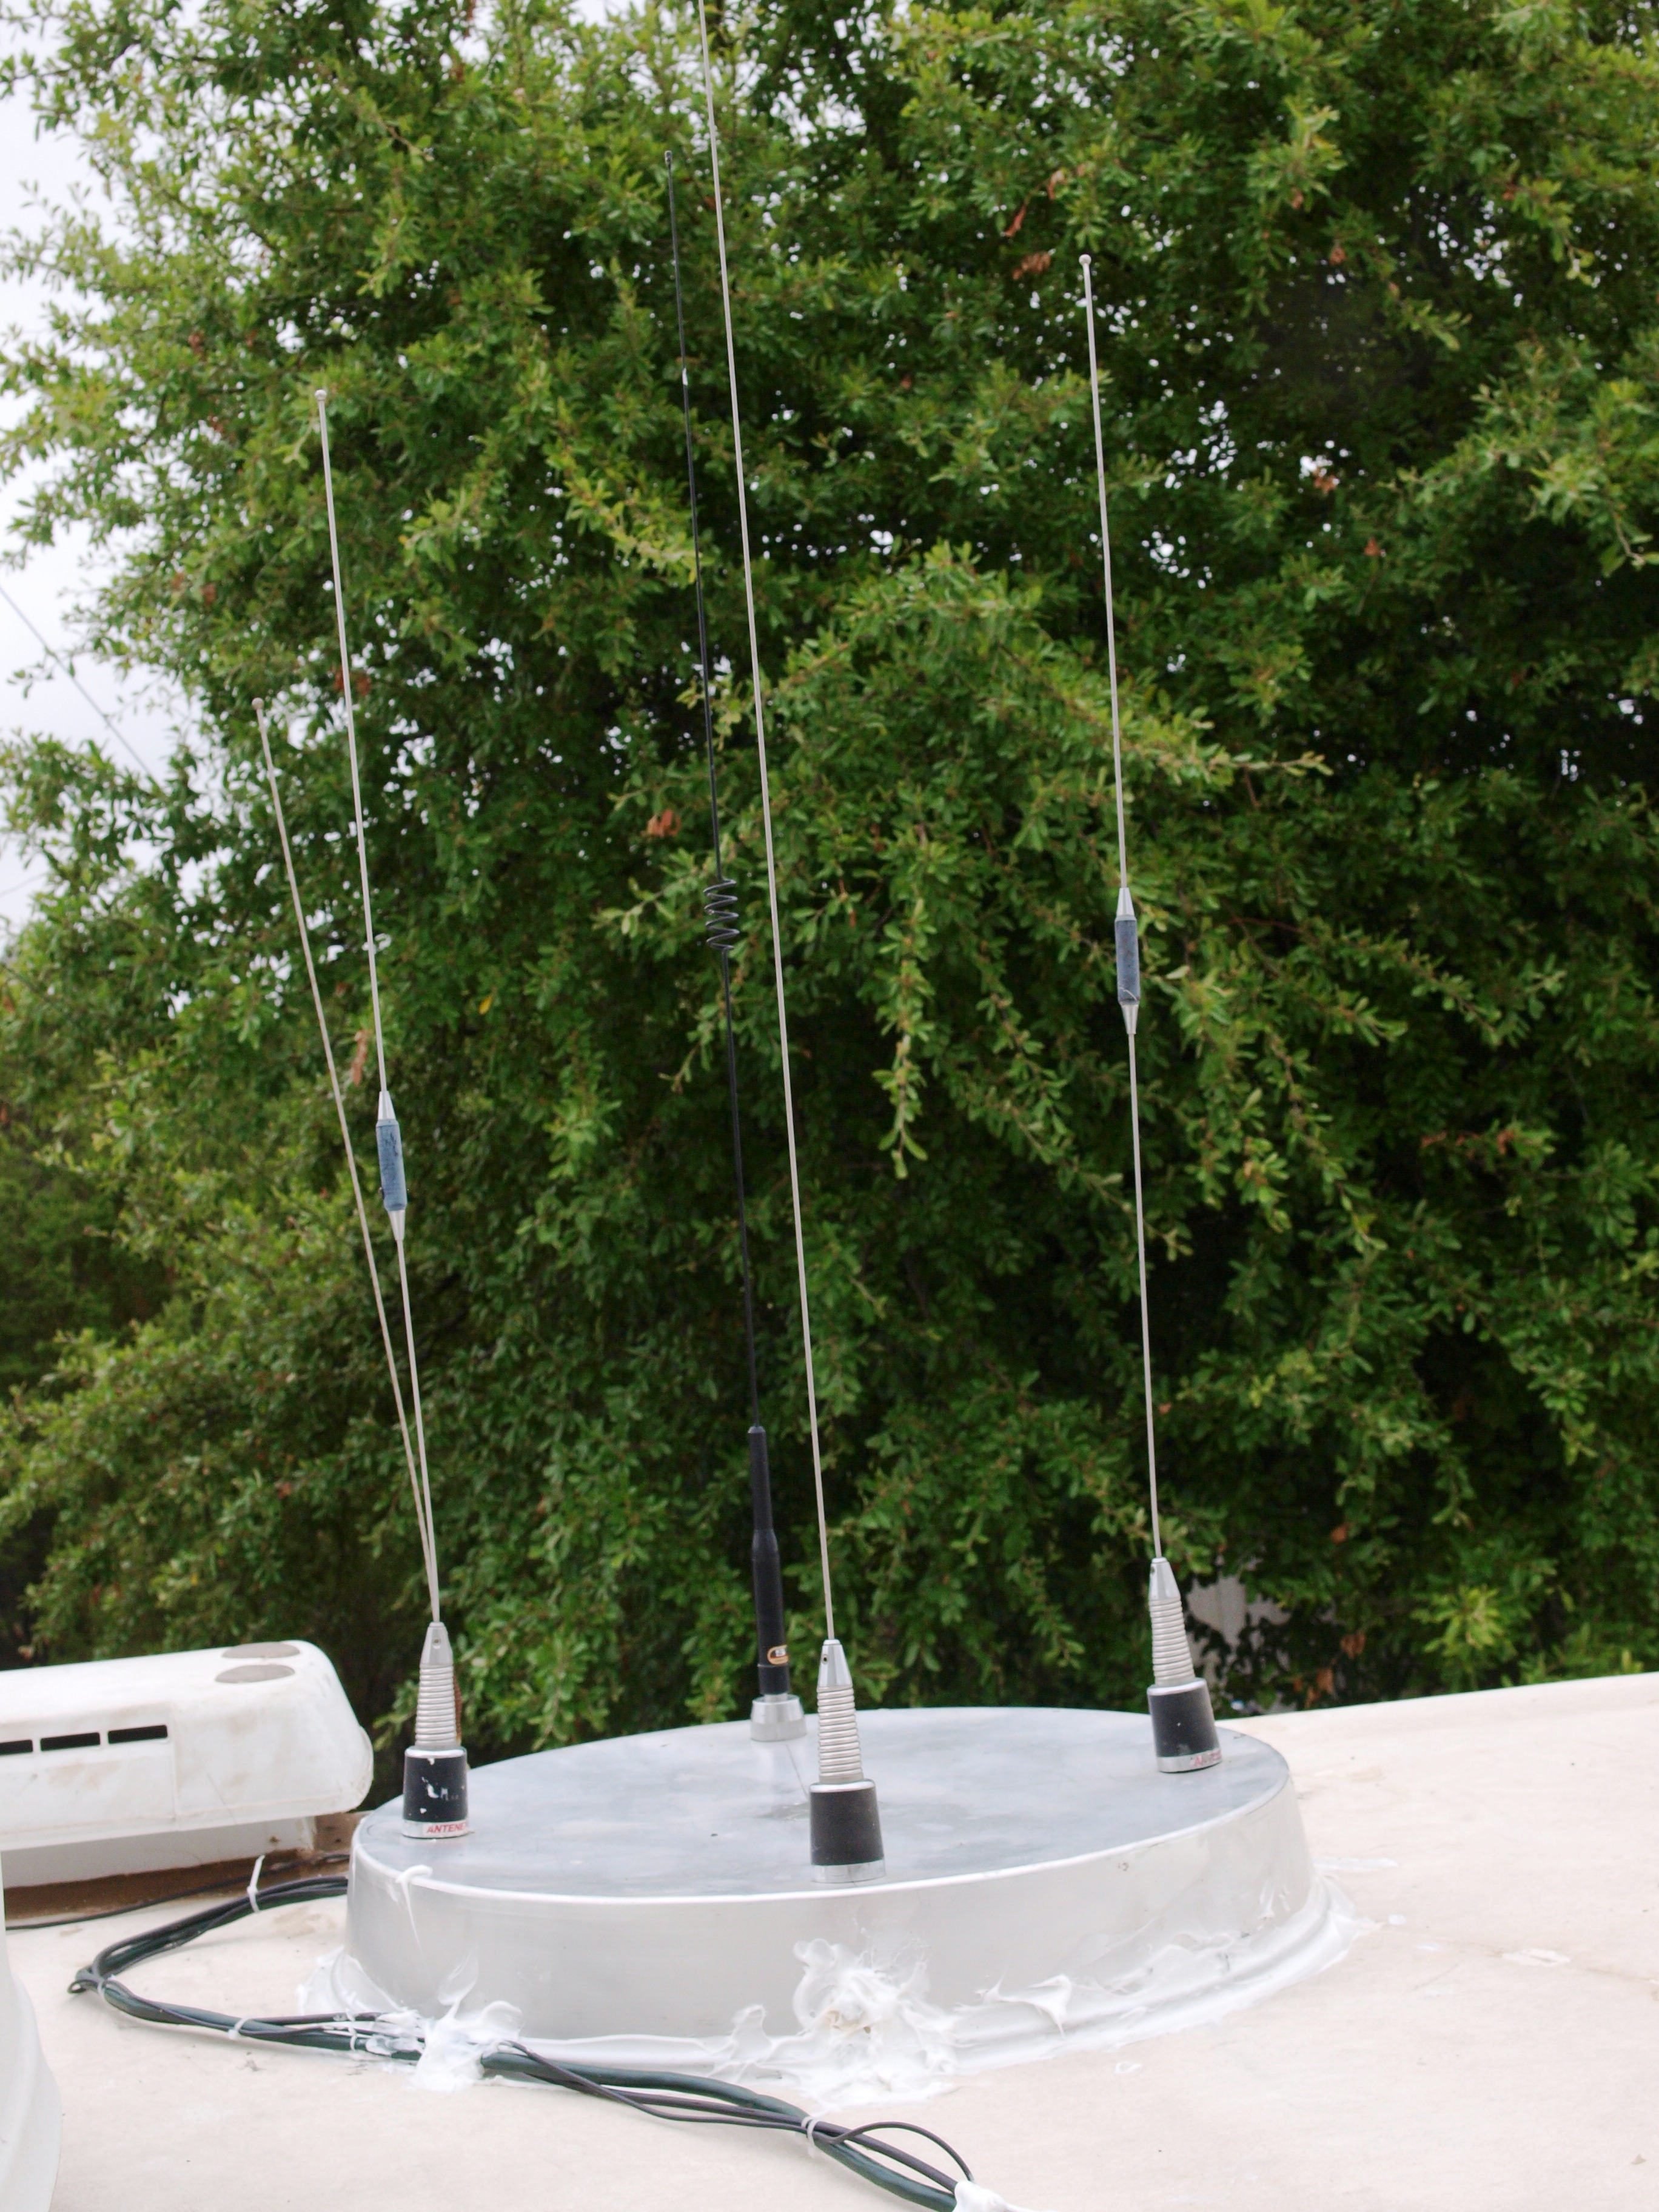
This photo shows the cabling I created for the wires to the camera and the wifi antenna that I also mounted to the wing antenna. The additional antennas that are shown are Amateur Radio antennas mounted a large aluminum pan. The coax lines also use the same hole in the roof, which gives direct access to the electronics cabinet in the trailer.
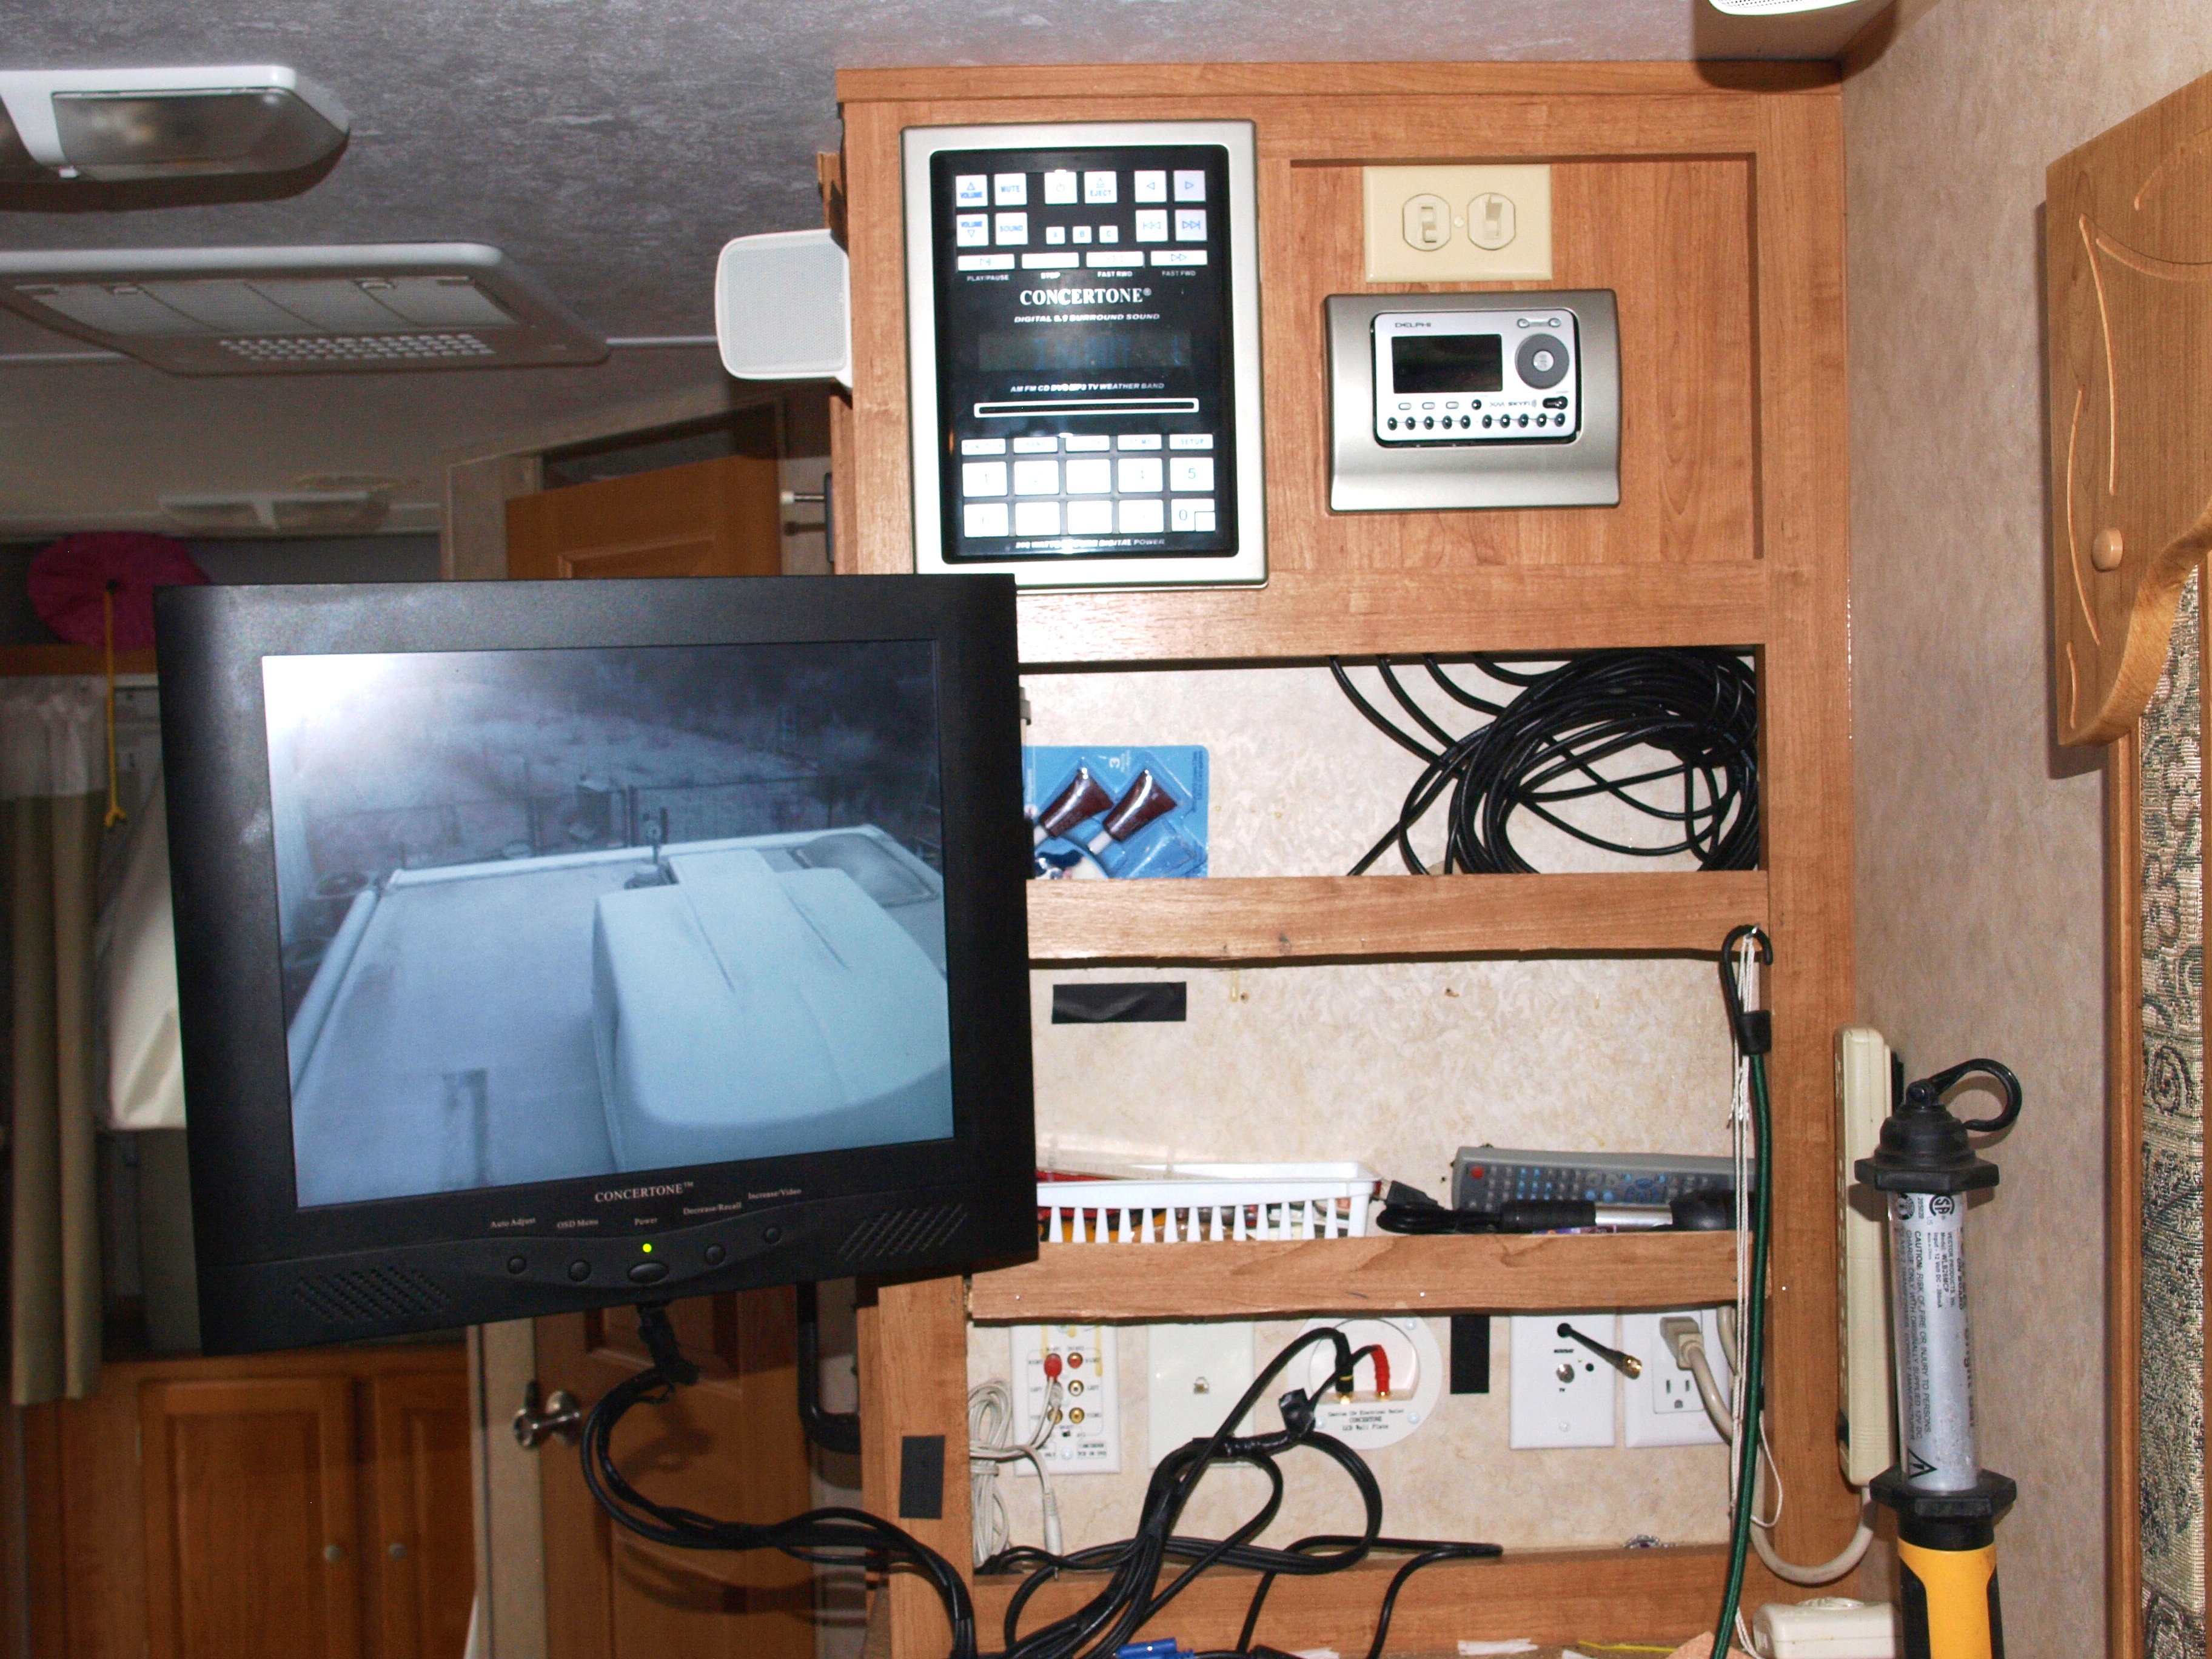
The above photo shows the mods I have made to the electronics cabinet. The monitor was factory mounted flush inside the cabinet. I removed it, added a couple of shelves and mounted the monitor to a sing out arm that allows me to center the monitor in the trailer or rotate it backwards to be seen by the rear bed area. The shelves added much needed storage. The radio antenna coax lines come out above the top shelf. The double wall switch above the sat receiver is used to control the IR/camera power and the fog light. Power was taken directly from the 12vdc line available for the electronics. The wifi antenna coas comes out the botton TV antenna wall plate and has enough coax to reach to the table. The coax is simply pushed up into the wall for storage.