The Base Spring Project
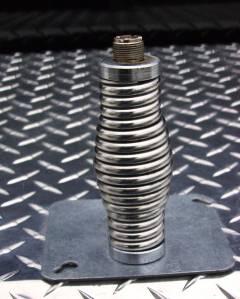
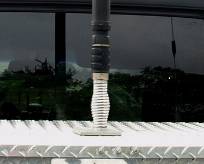
The base spring for the ATAS-120 (or any other UHF antenna for that matter) took some experimentation. The ATAS-120a uses the ground connection of the UHF connection for control voltages. The other problem was the weight of the antenna. After numerous attempts to find a spring that would keep my ATAS-120a vertical in the collapsed position while driving 70 MPH, I chose a stainless steel spring sold by Hustler in the $15.00 to $20.00 range. I modified a lighter duty spring for my Comet SBB-7. It did increase the life of the antenna but it still did not totally stop the breakage of the top coil that I have found to be a common problem with the longer comet mobile antennas. The actual modification of the spring is not difficult if you have the proper tools, some of which are difficult to find and are quite costly when purchased by special order from your local hardware store. I would like to hear from anyone who makes this spring mod and any improvements that you make over what I have done.
Parts sources:
Universal Radio Best price on Hustler springs that I found
Enco Best source for drill bits and taps that I found.
You will need two sizes of taps, the correct size drill bit for each, and preferably a drill press with a vice. The following steps are for constructing a base spring.
Using a 5/16” bit drill out the mounting nuts on each end of the spring. This will give two holes that RG-58a/u can be pushed through. Be careful not to damage the threads in one end of the spring as the spring will mount using a 3/8x24 bolt or 3/8” deep hole NMO mount.
Once both ends have been drilled out to a 5/16” hole, mount the spring tightly and use a drill bit size recommended for a 5/8”x24 tap. A 9/16” will work but it is a little small and makes the tap work really hard to cut the threads and hole out to the 5/8” size.
using hot melt glue, glue a standard PL-258 pushed onto a PL-259 RG-58A/U pig tail of about three feet that does not have the mounting ring on it
Feed the coax through the large hole, then through the 5/16” hole on the other end, then carefully screw the combined PL-258/259 down into the threaded 5/8 x 24 hole until the second set of threads on the PL-258 is just about even with the top of the spring.
You can drill a ¼” hole across the nut and tap it for a set screw, if you are energetic, or you can use a bulk head connector nut on the top of the spring connector to hold it in place. However, I found that once the antenna is screwed onto the UHF connector on the spring, it will lock the connector in place without a set screw. I have tried it all three ways!
there are two ways to mount the spring. I tried both and prefer the second, but it is more difficult to make.
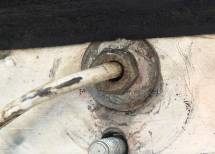
Remove the center insulator from an NMO 3/8” deep hole mount. Push the NMO mount through the 3/8” hole for the mount, push the coax from the top of the mount through the mount, and then carefully screw the spring onto the mount.

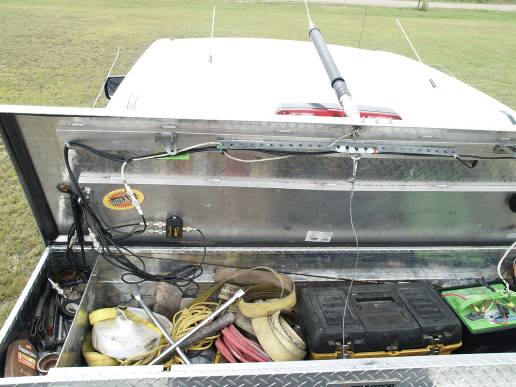
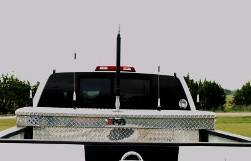
Two things to consider when mounting a heavy antenna to an aluminum tool box lid.
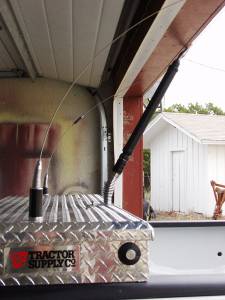
1. If you mount the antenna in the center of the lid, it will not allow the lid to open fully on most pickups. I chose to mount mine to the center rear which allows it to stay above the roof of my pickup. This adds lifting weight to the lid. You will probably need to re-positioning the lifters so that the lid will raise. I use a two-way winch mounted inside my tool box so I can open the lid remotely. It took a number of tries to find the correct positioning of the lifters to lift the lid when activating the winch. This applies to any tool box lid.
2. Aluminum tool box lids, unlike steel tool box lids, will stress and fracture with the repeated movement of a heavy antenna such as the ATAS-120a. I used an aluminum plate antenna mounting bracket I had in my junk box to strength the area where the ATAS-120a was mounted and to give a stronger pulling point for my winch.
If anyone is interested in how I modified my tool box for remote power opening and closing, along with a diagram of the control circuitry, parts, etc, email me.